Setting up your clinic
Every clinic on Fertiligent gets its own private space — its own portal, its own data, and its own branding. This page covers the one-time setup a clinic administrator does to make that space their own.
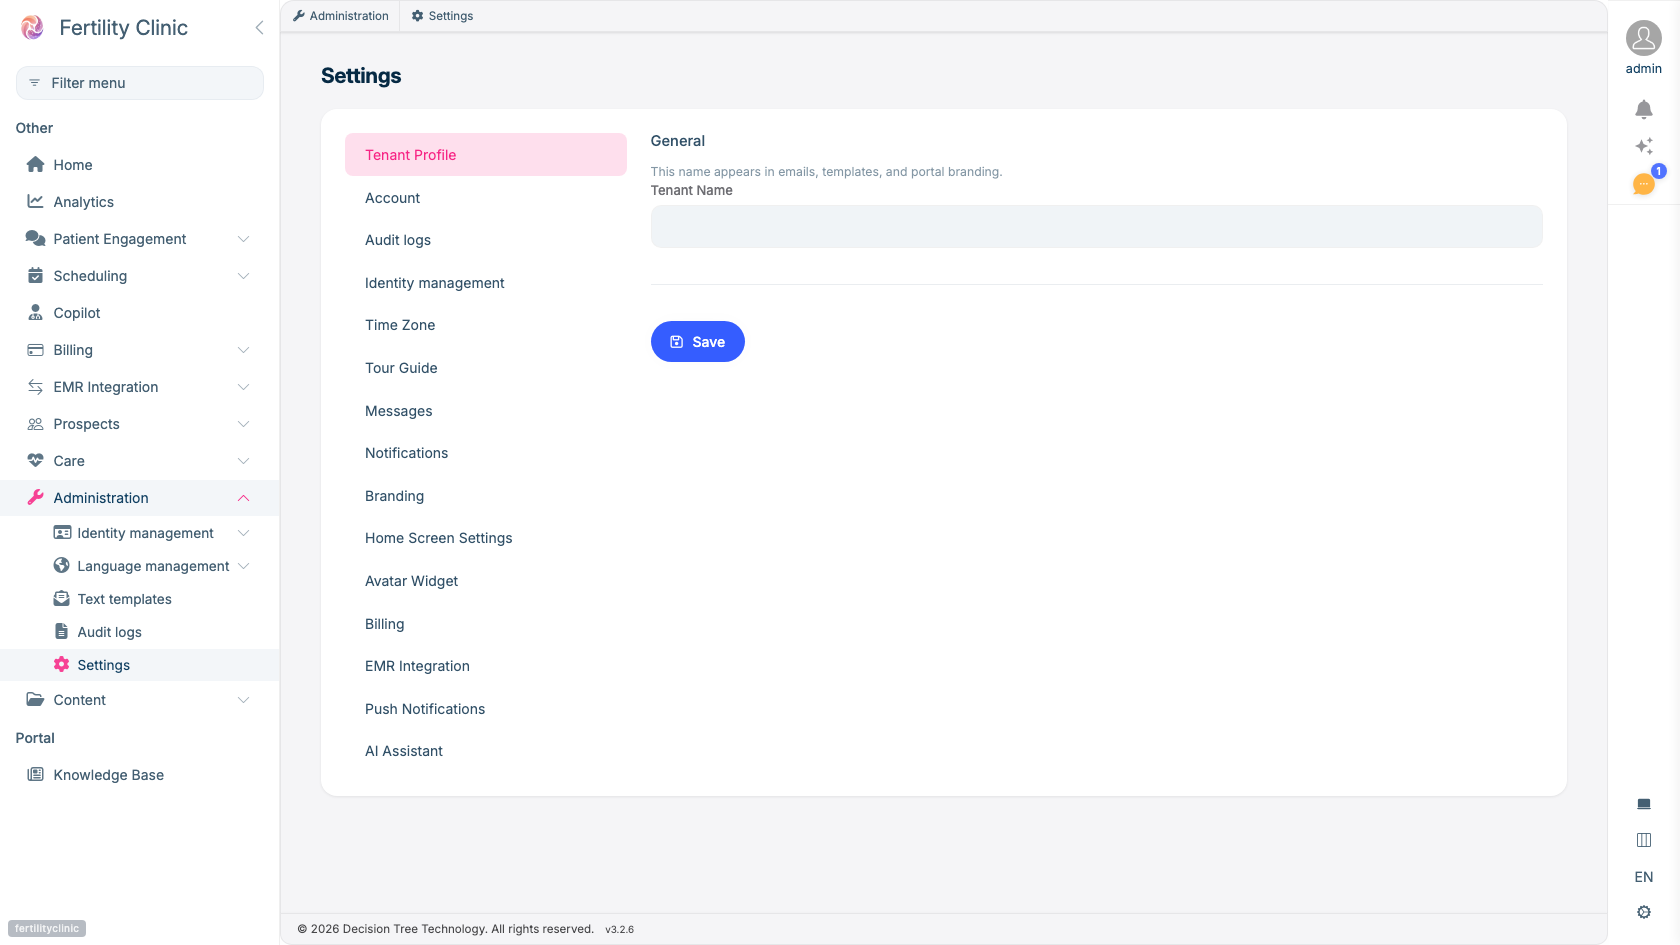
- Your clinic name — shown across the portal, emails, and branding.
- Upload your logo and icons under Branding.
- Manage staff, roles, and permissions from Identity management.
- Configure the assistant and web widget.
Your clinic's portal
Each clinic is a tenant with a dedicated address:
https://<your-clinic>.fertiligent.ai. Your staff sign in there, and your data
is kept separate from every other clinic. A new clinic can register itself
(choosing a subdomain and confirming by email, which creates the first
administrator account), or your Fertiligent contact can set it up for you. For
how tenant addresses work for API integrations, see
Multi-tenancy & environments.
Branding
Make the portal — and Eva — look like your clinic. From the branding settings an administrator can set:
- your brand name;
- your logo and menu icon;
- your favicon and the icons used when the portal is installed as an app on a phone or desktop.
Logos can be uploaded as PNG, JPEG, or SVG, and are applied across the portal and the patient-facing surfaces automatically.
Staff, roles, and permissions
Administrators invite staff members and assign them roles — bundles of the permissions that control what each person can see and do. Most features are also gated by your plan, so a permission only takes effect when the underlying feature is enabled for your clinic. For the full breakdown of which roles gate which work, see Staff roles & permissions.
Next steps
- Staff roles & permissions — who can do what.
- How intake works — how patients reach your clinic and where each channel is set up.
- Consent & messaging setup — enabling channels and how consent is captured.